When copying an entire disk, make sure that the target iSCSI disk holds enough space to contain the local system. Copying is done at the file level. There is no compression provided or consolidation of empty space to resize drives.
To open the System Copy wizard, perform the following step:
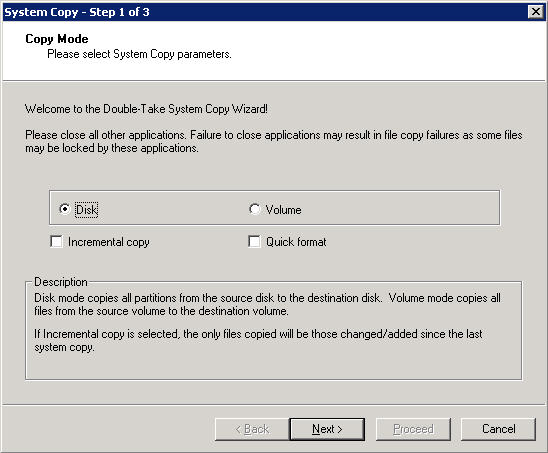
On the Copy Mode page, select Disk, then click Next.
|
Note: |
If you select Incremental Copy, the only files copied will be the files changed or added since the most recent copy. The only reason to select Quick Format is if the disk needs to be formatted. By selecting Quick Format, the process will complete faster. |
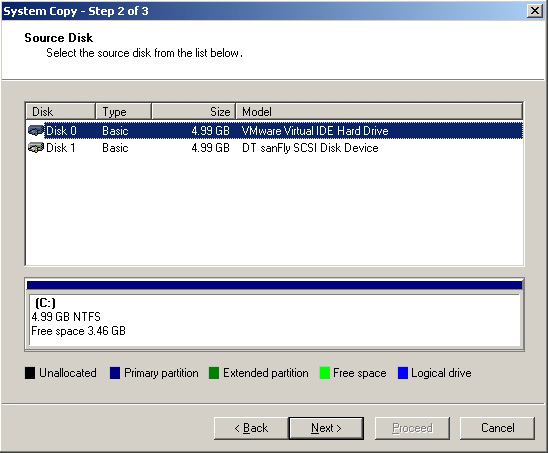
On the Source Disk page, select the source disk which represents the local system's hard drives, then click Next.
In this example, Disk 0 is the local disk on the Windows Server system.
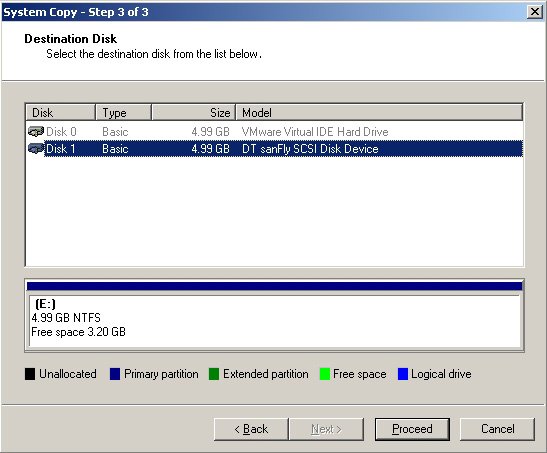
On the Destination Disk page, select the iSCSI destination disk from which the Windows Server system will boot, then click Proceed.
In this example, Disk 1 is the iSCSI target disk that will contain a copy of the local system's hard disks.
The following warning is displayed.
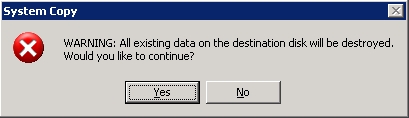
This warning is only in reference to the specific iSCSI boot volume that was originally created to host this system.
In the message warning box, click Yes.
System Copy starts copying files. The copy operation progress is displayed.
When copying is complete, click Close.
The system may be powered down if proceeding to boot from the assigned iSCSI target.
|
Note: |
If you used the DVD to boot, remove it from the system and make the appropriate changes in your BIOS boot order, if necessary, to boot from the network. |
If you have used the System Copy to copy the Flex Client boot image to SAN, then continue to Setting the Flex Client to boot from network.