Open topic with navigation
Selecting the source machine
If you have not done so already, launch the Double-Take Availability Virtual Recovery Assistant console.
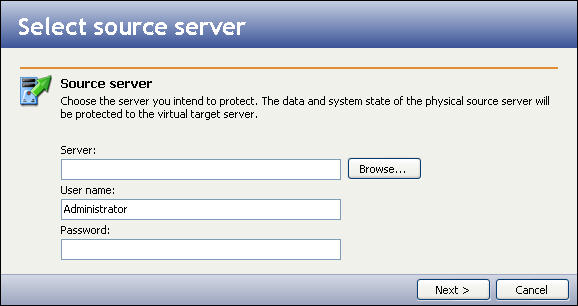
When you click Protect a server, the Select source server window will appear.
Enter the following information for the source server:
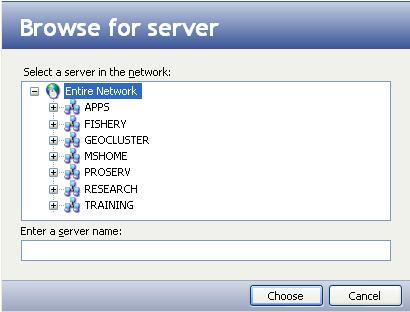
- Server—Enter the IP address or DNS name of the source server you want to protect. Or, click the Browse button to browse to locate a server.
- In the Browse for server window, browse through the server tree to select a source server.
- After you have found the source server, select it, then click Choose.
|
Note:
|
- In order to protect a source, the source must have no more than four NICs enabled.
- Thin-provisioned virtual disks on VMware ESX are not supported because they cannot be shared by two virtual machines simultaneously.
|
- User name—Enter the user name for the account that will access the source server.
|
Note:
|
The user account specified must have Double-Take Admin privileges on the source server.
|
- Password—Enter the password that is associated with the user account.
- After all fields have been completed, click Next. A window will display the progress as the Virtual Recovery Assistant console authenticates the source server.
|
Note:
|
If the source is running Windows 2008 and its SAN policy is not OnlineAll, the replica machine's non-boot volumes will need to be mounted manually after the replica machine is powered on after failover.
|
Next step: Select volumes to protect