You are here: Workload protection > Virtual machine protection > Protect an entire physical or virtual machine using a Microsoft Hyper-V virtual machine > Selecting a source machine to protect with Hyper-V

Selecting the source machine

If you have not done so already, launch the Protect an entire server using a Hyper-V virtual machine workflow.

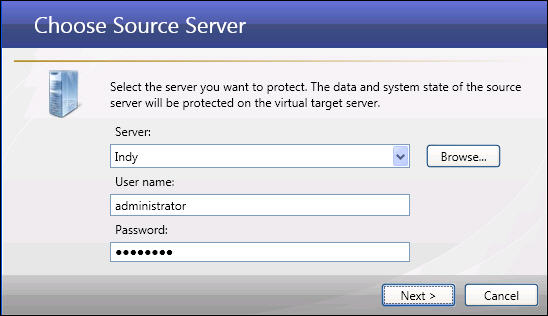
When you click Protect an entire server using a Hyper-V virtual machine, the Choose Source Server window will appear.

Enter the following information for the source server:

  1. Server—Enter or select the DNS name or IP address of the physical or virtual source server that you want to protect. Or, click the Browse button to locate a server.
  1. In the Browse for Server window, browse through the server tree to locate a source server.
  1. After you have found the source server, select it, then click OK.

Note:

In order to protect a source, the source must have no more than four NICs enabled.

If you enter the fully-qualified domain name for the server, the Double-Take Console will resolve the entry to the server short name. This could result in name resolution issues for servers with the same short name that reside in two different domains. To avoid this, enter the IP address of the server.

  1. User name—Enter the user name for the account that will access the source server.

Note:

The user account specified must have Double-Take Admin and local administrator privileges on the source server.

If this is a domain user account, you may enter a fully-qualified user name. The fully-qualified user name must be in the format domain\username or username@domain.

  1. Password—Enter the password that is associated with the user account.
  2. After all fields have been completed, click Next. A window will display the progress as the source server is authenticated.

Next step: Select volumes to protect