Open topic with navigation
Setting protection options
If you have not done so already, launch the Protect a Hyper-V virtual machine using host-level protection workflow.
Configure the parameters for the protection job.
|
Note:
|
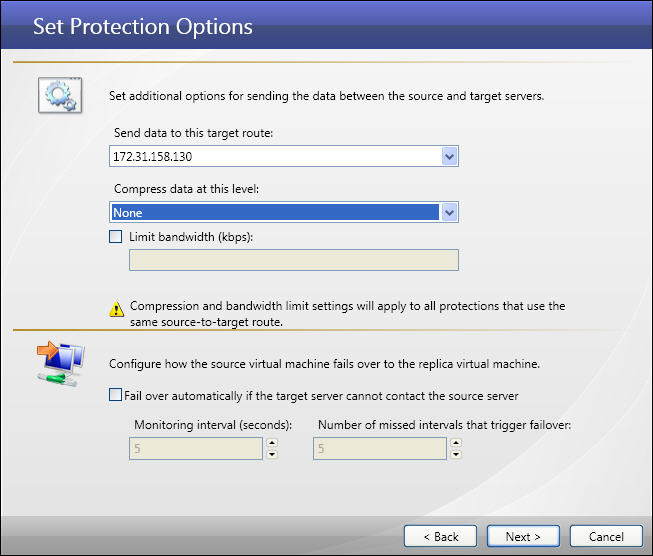
Compression and bandwidth limit settings will apply to all protections that use the same source-to-target route.
|
- Send data to this target route—Select the IP address on the target server to which you want to send data from the source.
|
Note:
|
If your host is on multiple networks and has multiple addresses associated with those networks, you can choose to use an IP address other than the one you entered for the target in Selecting a target server.
|
- Compression—Select the compression level (None, Low, Medium, or High) to use when sending data from the source to target server.
- Limit Bandwidth—You can specify a limit for the bandwidth to be used by source-to-target communications for this protection job. Select the Limit Bandwidth checkbox, then enter a value (in kilobits per second) that bandwidth cannot exceed.
- Fail over automatically if the target server cannot contact the source server—If you want the target server to stand in for the source server when the source is inaccessible, select this checkbox.
|
Note:
|
- The automatic failover option is only available if the source virtual machine is running and integration services are installed on it.
- Automatic failover will occur if either the physical host or source virtual machine goes down.
- Automatic failover will not occur until after the initial mirror has completed. If the source virtual machine goes down while the initial mirror is in process, the failover will not occur until the mirror is completed because some files needed for failover may not yet be synched to the target.
- Stopping the Double-Take service on the source will not affect failover. The failover monitor will continue running even if the Double-Take service is stopped. Automatic failover will not occur until Double-Take comes back up on the source.
|
- Monitoring interval (seconds)—(Default = 5) Select how often the monitor will check the source machine availability.
- Number of missed intervals that trigger failover—(Default = 5) Select how many monitor replies can be missed before assuming the source machine has failed.
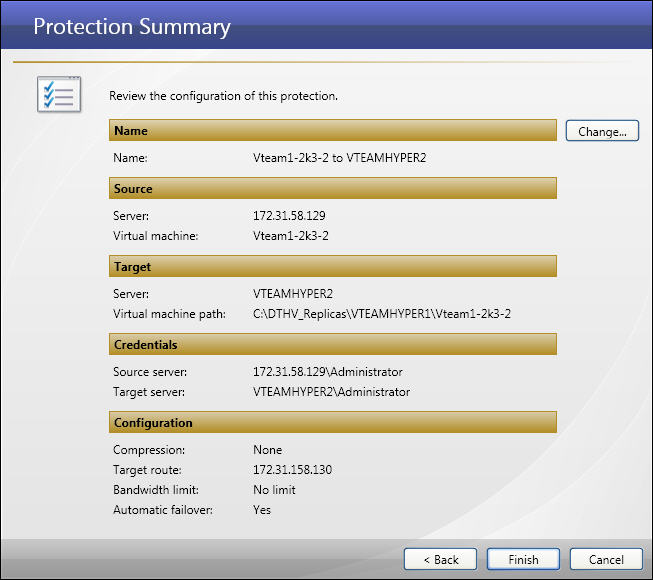
- When you have finished setting protection options, click Next. The Protection Summary window will appear.
|
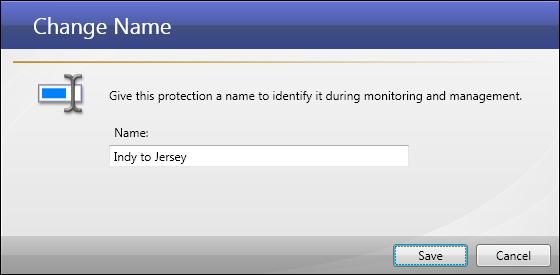
- (Optional) If you want to change the name of the protection, click the Change button. The Change Name window will appear. Enter a new name for the protection, then click Save.
- Review the protection options, then click Finish to initiate the protection process.
When you click Finish, a message box will appear identifying the status of the protection check.
Next step: Monitor your protection job
 Related Topics