Open topic with navigation
Using the New Client Wizard
Use the New Client Wizard to add and configure a Flex Client and target from the client machine.
|
Note:
|
The New Client Wizard can only be used on a client running a Windows OS.
|
Prerequisites
To use the New Client Wizard, you must meet the following conditions:
- The Double-Take Flex Management Server and Double-Take Flex Storage Server must be installed and activated.
- At least one iSCSI target configuration must be defined within the Double-Take Flex Management Server.
- The operating system must already be installed on the Flex Client.
- The Flex Client must be installed.
- You must be creating a new client. You cannot use this wizard to modify parameters for an existing Flex Client or Flex Target.
- If you are running the New Client Wizard on XP x86 (32-bit), the Microsoft iSCSI software initiator must be installed on the client so that you can browse and list iSCSI targets.
- If you are running the New Client Wizard on XP or a non-R2 Windows 2003 machine, .NET 2.0 must be manually installed.
- If you do not meet all of the preceding conditions, refer to the workflow for not using the New Client Wizard.
Opening the wizard
On the Flex Client, select Start, Programs, Double-Take, Flex Client, New Client Wizard.
Welcome page
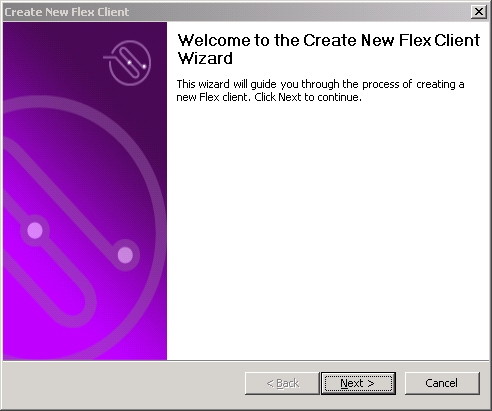
On the Welcome page, click Next.
Specify Flex Client page
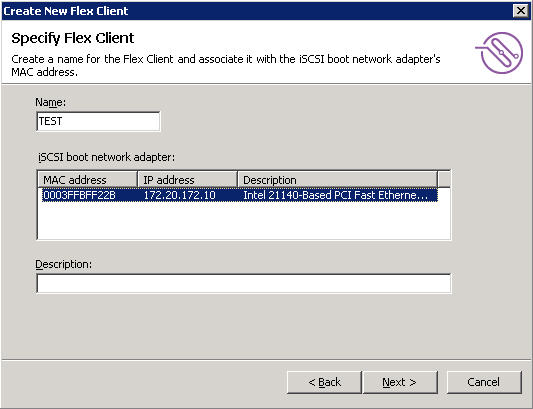
On the Specify Flex Client page, perform the following steps:
- In the Name field, specify the name of the Flex Client.
- In the iSCSI boot network adapter selection box, select the network interface card (NIC) to be used for the Double-Take Flex Client.
- (optional) Specify a description for the Flex Client.
- Click Next.
Specify Flex Management Server page
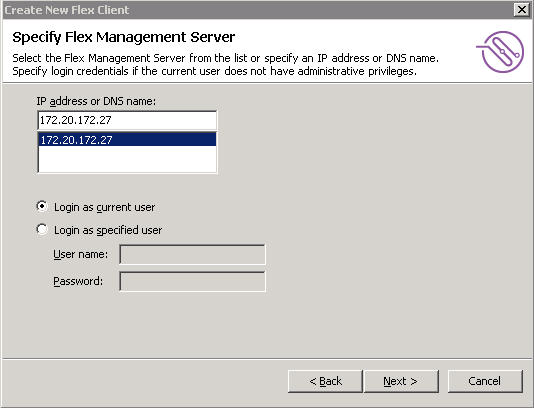
On the Specify Double-Take Flex Management Server page, perform the following steps:
- In the IP address or DNS name selection box, select or specify the IP address or domain name of the Double-Take Flex Management Server.
- Take one of the following actions to specify administrator account credentials:
- If you are logged in on the client as an administrator, select the Login as current user checkbox to use the existing login credentials.
- If you are not logged in on the client as an administrator, select the Login as specified user checkbox, then specify administrator credentials for the Double-Take Flex Management Server in the User name and Password fields.
- Click Next.
Specify Target page
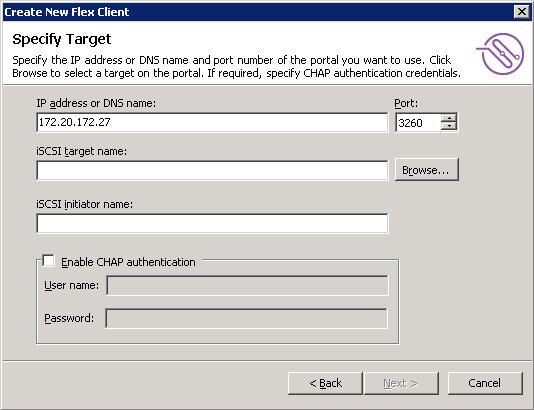
On the Specify Target page, perform the following steps:
- In the IP address or DNS name box, specify the IP address or domain name of the portal.
- In the Port selection box, select the port number to use.
The value is typically 3260.
- In the iSCSI target name box, click Browse.
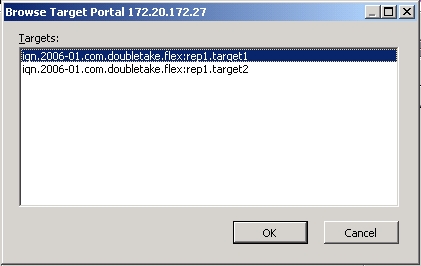
Select a target and click OK.
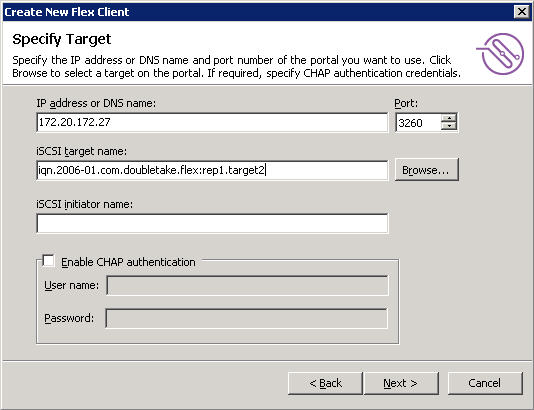
- (optional) In the iSCSI initiator name box, specify the iSCSI initiator node name that will be passed to the Double-Take Flex Client. The initiator name is used in the following order.
- If the initiator name is specified for an iSCSI target, that initiator name will be used by the Double-Take Flex Client.
- If the initiator name is not specified for an iSCSI target, and is specified for the client, that initiator name will be used by the Double-Take Flex Client.
- If the initiator name is not specified for an iSCSI target or the client, the Double-Take Flex bootstrap will create an initiator node name for the Double-Take Flex Client based on the client's MAC address.
- (optional) Enable CHAP authentication:
- To enable CHAP authentication, select the Enable CHAP authentication checkbox.
- In the User name box, specify a user name for the intended iSCSI target.
- In the Password box, specify the associated password.
- Click Next.
Ready to Create New Flex Client page
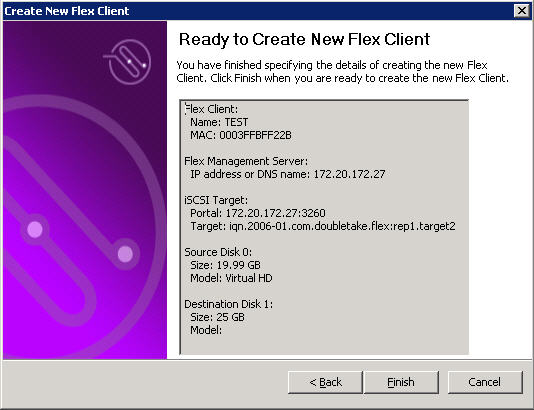
On the Ready to Create New Flex Client page, perform one of the following steps:
- If you are satisfied with the parameters, click Finish to proceed.
- To modify the parameters, click Back.
If you proceed, the Flex Client system is copied to the iSCSI target defined in the wizard. Double-Take Flex automatically selects the source and destination disks for the copy action. The source is the disk from which you booted, and the destination is the disk that you specified in the previous part of this section.
A System Copy status is displayed that shows the progress of the copy action.
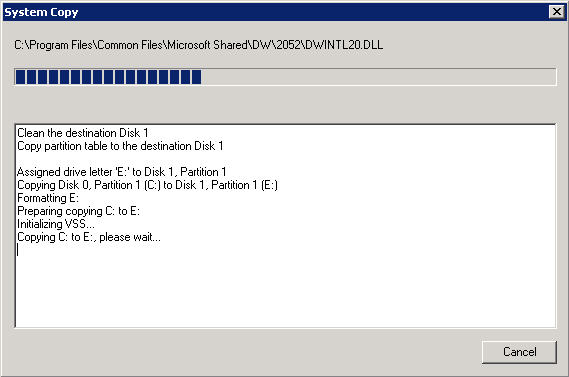
When the copy action is complete, you are prompted to restart the Flex Client.
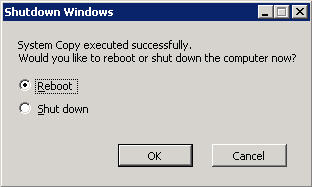
In the Shutdown Windows message box, select Reboot or Shut down, then click OK.
Viewing Results
In the Double-Take Flex Management Console, you can verify the results of running the wizard. The Flex Client configuration is displayed under the Clients object and is associated with the specified iSCSI target.


