To create a new Flex Target, open the Create Flex Target wizard:
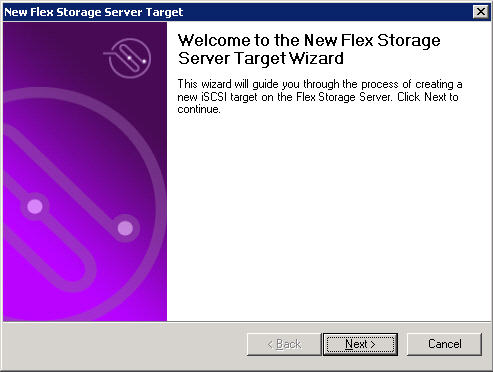
On the Welcome page, click Next.
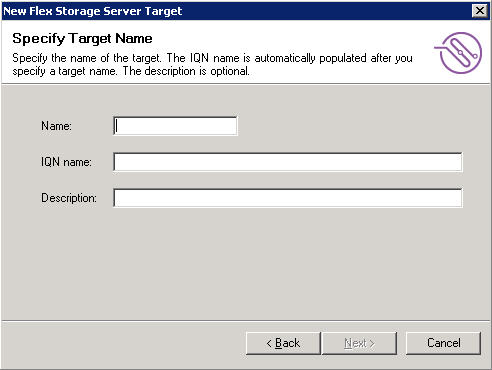
On the Specify Target Name page, specify values for the following fields, then click Next.
|
Field |
Description |
|---|---|
|
Name |
Specify a descriptive name. Valid values: Maximum of 15 alphanumeric characters including hyphens; no special characters. |
|
IQN name |
This value is automatically populated after you specify a Flex Target name. The Flex Target name is appended to the default IQN Name prefix set in the global options. |
|
Description |
(optional) Specify a description for the Flex Target. |
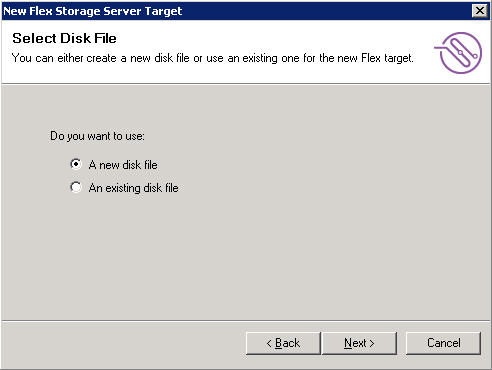
On the Select Disk File page, specify whether to use a new disk file or an existing disk file, then click Next.
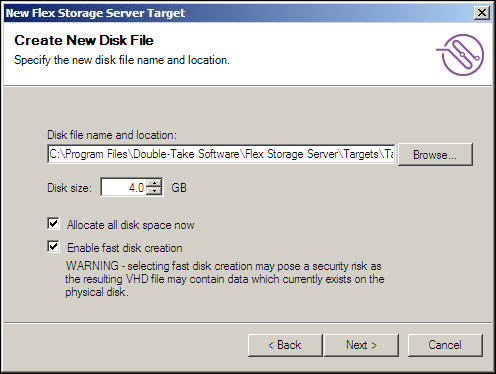
On the Create New Disk File page, specify values for the following fields, click Next, then proceed to Ready to Create New Flex Target page.
|
Field |
Description |
|---|---|
|
Disk file name and location |
A suggested disk name and path is provided, based on the target name previously provided and on the default location set under the global options. UNC path values are supported, for example: \\ComputerName\SharedFolder\Resource.vhd The ComputerName may be an IP address or host name. If you are not authenticated for the specified computer, you will be prompted for credentials after you click Next. |
|
Disk size |
Specify a disk size, in GB, to allocate for this target. Make sure that when you define a target that it is at least the size of the intended Double-Take Flex Client. |
|
Allocate all disk space now |
Select this checkbox to assign all disk space now. If deselected, the disk file will grow in size as needed up to the maximum specified under disk size. (Tip: disk performance is best when all space is allocated.) |
| Enable fast disk creation |
Select this checkbox to greatly improve the creation speed of the target disk. Note that there is a potential security risk in selecting this option. This is because any existing data on the disk file is not overwritten/deleted when the new disk is created. |
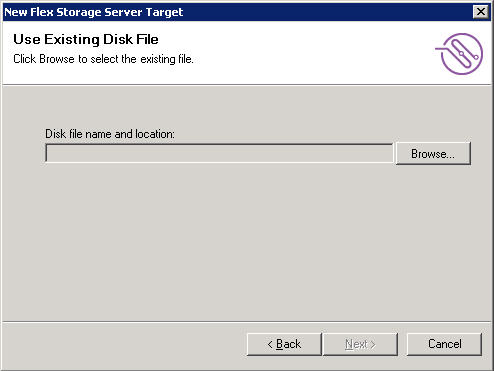
On the Use Existing Disk File page, click Browse to search for the existing disk to use for the Flex Target, then click Next.
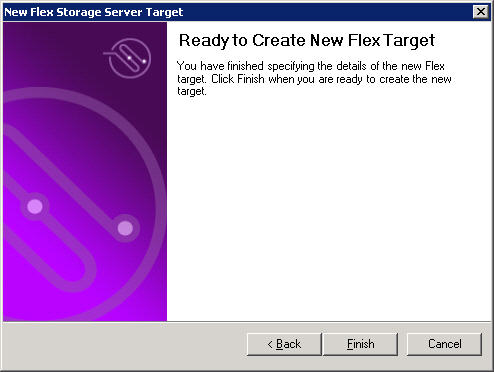
On the Ready to Create New Flex Target page, click Finish.
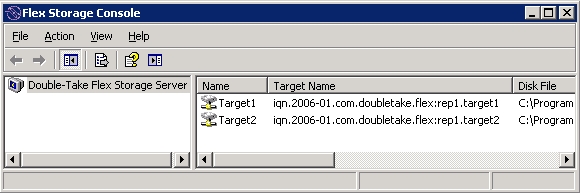
If you selected the Allocate all disk space now checkbox, a progress indicator is displayed while the Flex Target is being created. When the operation is complete, the Flex Target is listed in the right pane of the Double-Take Flex Storage Console.
In the Double-Take Flex Storage Console, you can verify that the target was created.