Open topic with navigation
Installing the Double-Take Flex Management Server
The Double-Take Flex Management Server is a required component in a Double-Take Flex deployment. The Double-Take Flex services and Double-Take Flex Management Console which are used to set up and manage iSCSI boot from SAN are installed on the server.
To install the server, perform the following steps:
- On the machine designated as the Double-Take Flex Management Server, insert the Double-Take Flex DVD.

- Click Double-Take Flex.
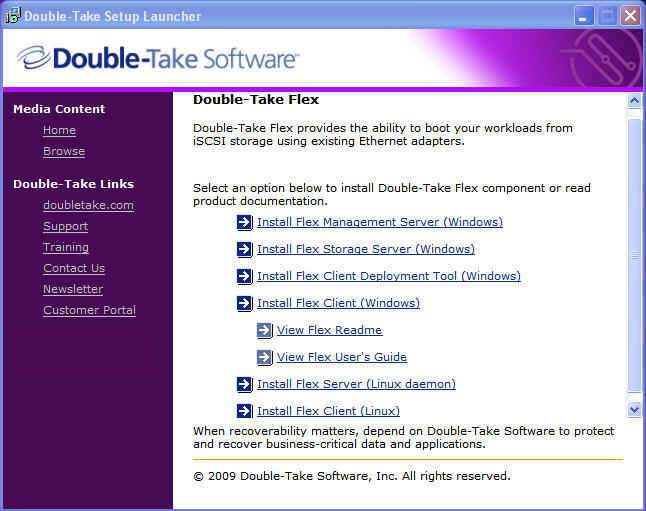
- Click Install Flex Management Server (Windows).
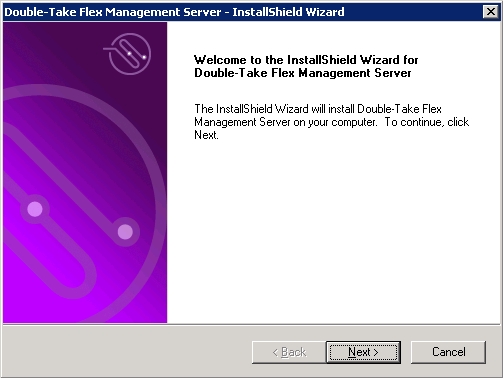
- On the Welcome page, click Next.
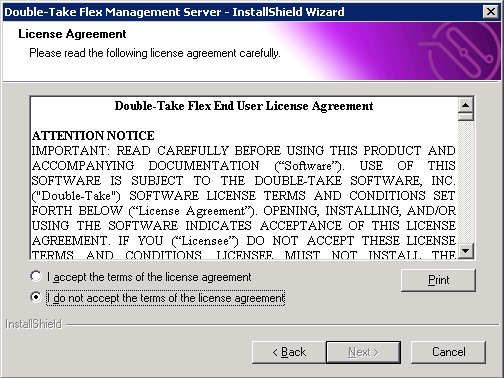
- On the License Agreement page, read the license agreement. To continue with the installation, select I accept the terms of the license agreement, then click Next.
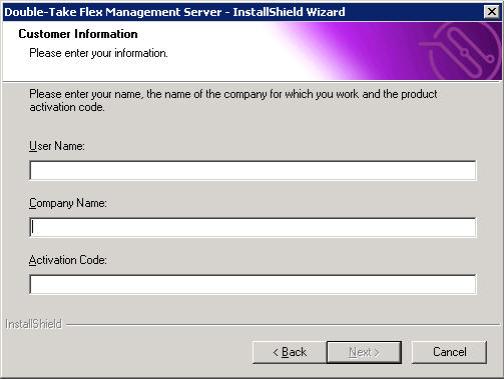
- On the Customer Information page, specify a user name (any name is acceptable), the company name, and the activation code for the product, then click Next. The activation code for the console is a Double-Take Flex boot client activation code; there is no specific activation code for the Double-Take Flex Management Server.
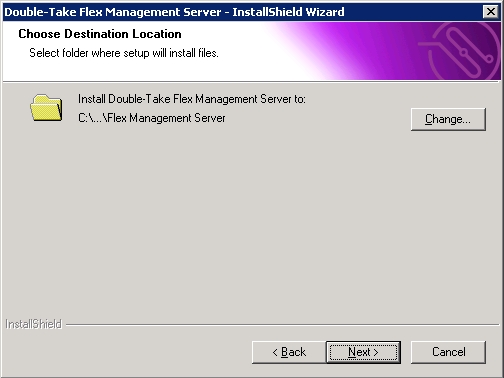
- On the Choose Destination Location page, select the directory location where you want the software installed:
- To install the software in the default location, click Next.
- To install the software in another location, click Change. Navigate to the desired location, click OK, then click Next.

- On the Choose TFTPBOOT Directory page, select the directory location where you want the Double-Take Flex PXE iSCSI bootstrap files:
- To select the default location, click Next.
- To select another location, click Change. Navigate to the desired location and click OK, then click Next.
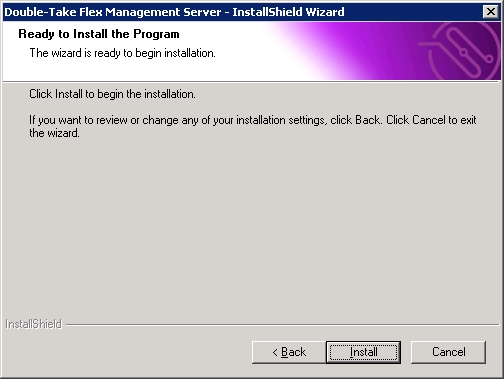
- On the Ready to Install the Program page, click Install.
The installation program shows the progress of the installation. When the installation is complete, the following page is displayed.
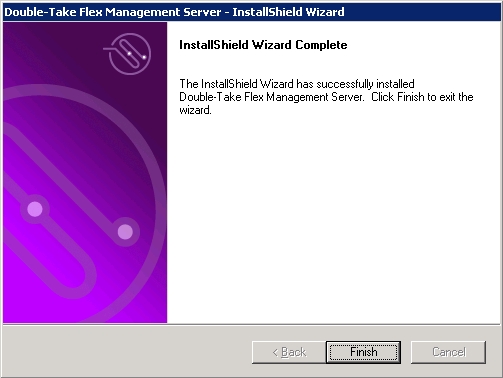
- On the InstallShield Wizard Complete page, click Finish.
The Double-Take Flex Management Server is installed, and a program shortcut is placed in the Program Group Double-Take, Flex Management Server.