
|
Make sure you have a valid domain and servers specified, click Configure from the main Application Manager page, and then select the Failover tab.
The fields on the Failover tab will vary depending on the type of application you are protecting.
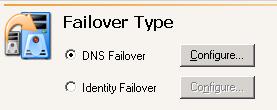
Specify the Failover Type which is the name resolution method that will be used to redirect users to the target in the event the source fails. Ideally, you should use DNS failover to reduce downtime and avoid server name or IP address conflicts. However, you may want to select identity failover if access to the domain controller or DNS server is not available, the time required to propogate DNS updates is unacceptable, or your end-users are configured to connect to an IP address and not a server name. For cluster environments, DNS failover is the only option available.

Identity Failover—With identity failover, the target will assume the source server's name and IP address. This option can potentially cause name and/or IP address conflicts if the source is brought back online while the target is standing in. Click Configure to specify the identity failover settings.
If you select identity failover, you will not be using the Application Manager for failover, failback, or restoration. You must manually complete failover and failback and restoration.
If you are protecting Exchange 2010 with DAG, Double-Take Availability will automatically update SPNs, move user mailboxes, and perform Active Directory updates during failover. DNS updates are not made during failover, but can be scripted manually if needed.
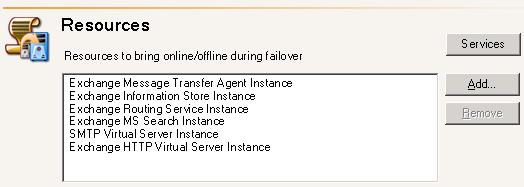
Application Manager automatically determines the appropriate application services or resources to start and stop based on the application you are protecting, your operating system, and your application configuration. If necessary, modify the list of services or resources.

