
|
|
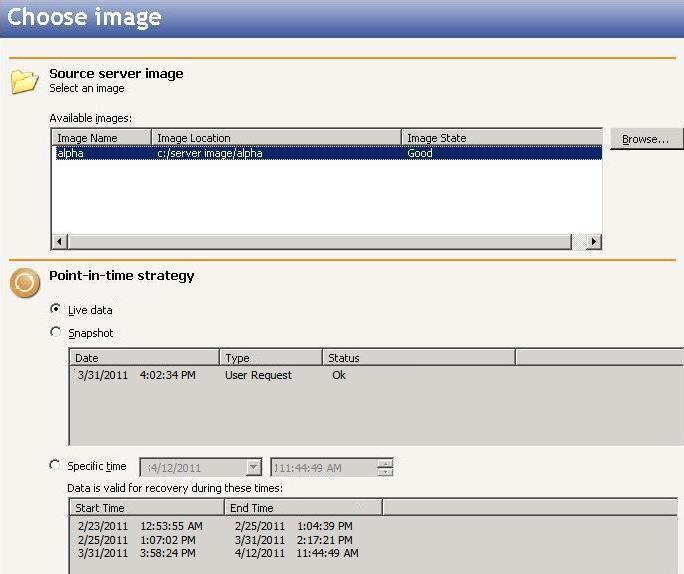
Select the image of the source that you want to recover and the point-in-time strategy.
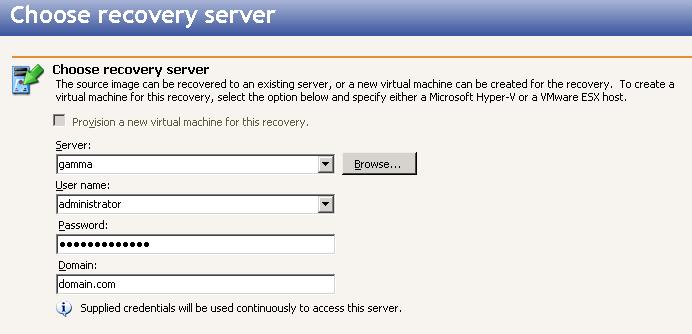
Select the recovery server. If you used the Double-Take RecoverNow built-in installation to push a copy of Double-Take RecoverNow to the recovery server, that copy will automatically be activated when you select it as a recovery server. The copy will automatically deactivate after five days.
Because you are working with data only, you will be unable to Recover the entire server. You can only recover the data you selected to protect. You can exclude files that you protected but do not want to recover, but be careful when excluding data. Excluded volumes, folders, and/or files may compromise the integrity of your applications.
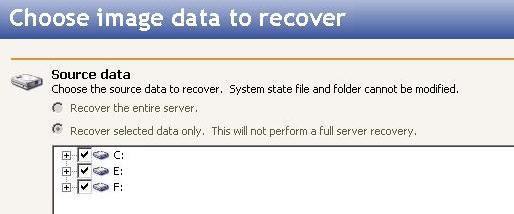
Volumes, folders, and files that are marked with a checkmark are included. If there is no checkmark, the item is excluded. Expand and collapse the directory tree and click on an item to add or remove a checkmark. Once you have configured the data to recover, click Next to continue.
The Select all and Deselect all buttons allow you to quickly select or deselect all data on your server based on your system state or selected data only choice. These buttons do not change what is selected for the system state, which is defined by Double-Take RecoverNow and cannot be modified.
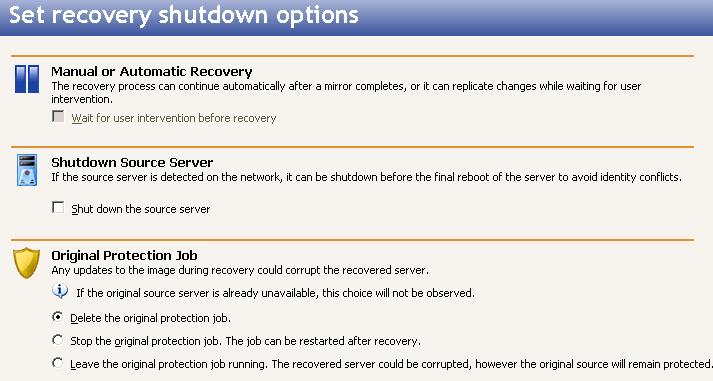
Specify your recovery shutdown options.
 Related Topics