
|
|
Use the following instructions to migrate data from your source to an existing physical or virtual target.
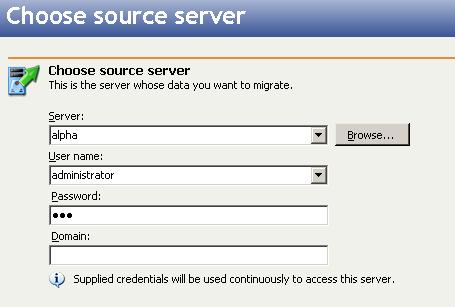
Identify the source that contains the data that you want to migrate.
By default, Double-Take Move selects all of the data on your source for migration. It automatically excludes system state information. If desired, you can exclude other files that you do not want to migrate, but be careful when excluding data. Excluded volumes, folders, and/or files may compromise the integrity of your installed applications. Volumes, folders, and files that are marked with a checkmark are included. If there is no checkmark, the item is excluded. Expand and collapse the directory tree and click on an item to add or remove a checkmark. Once you have configured the data to migrate, click Next to continue.
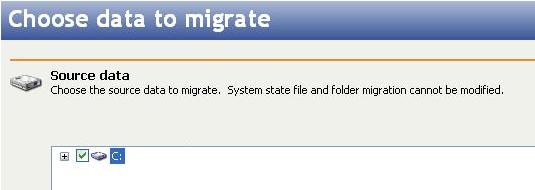
The Select all and Deselect all buttons allow you to quickly select or deselect all user data on your server.
Specify your migration shutdown options.
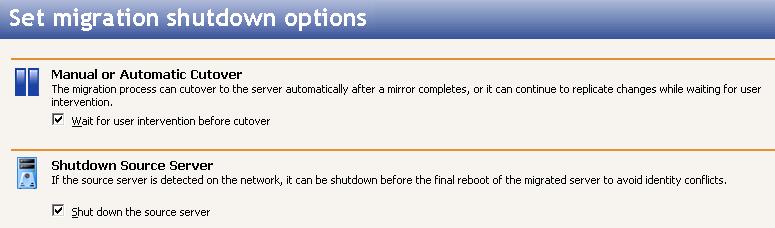
When the migration mirror has completed, the migration job may or may not terminate automatically depending on your selection for Wait for user intervention before cutover. If you disabled user intervention, the migration job will terminate automatically to complete the migration process. If you enabled user intervention, when the migration mirror is complete, the status will change to Ready for Cutover. Use this time to complete any necessary tasks. When you are ready to complete the migration, click Cutover on the Monitor page toolbar to complete the migration process, which will terminate the migration job.
If your source was disconnected from the network during the cutover process, the original job that was mirroring the data will still be active on that machine. Do not bring that machine back on the network. If you do, the original job will attempt to begin mirroring data again which could result in data loss. While the machine is still disconnected from the network, stop the Double-Take service, delete the file connect.sts located in the Double-Take Move installation directory, and then restart the Double-Take service. This will delete the original job. After the original job is deleted, you can bring the machine on the network if desired.
 Related Topics