Open topic with navigation
Establishing full-server protection
Use the following instructions to establish protection for your entire source.
- Login as a user that is a member of both the Double-Take Admin and local Administrators security groups.
- Open the Full-Server Failover Manager.
-
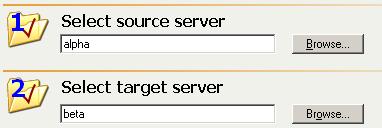
Enter your source and target servers. You can click Browse when selecting either server to locate it by drilling down through your network. After you have specified a server name, enter login credentials when prompted. Once the server is selected and logged in, the Properties tab at the bottom of the Full-Server Failover Manager updates to display the server’s properties.
- Optional protection settings are available but not required. If desired, configure the optional protection settings by clicking Configure protection.
-
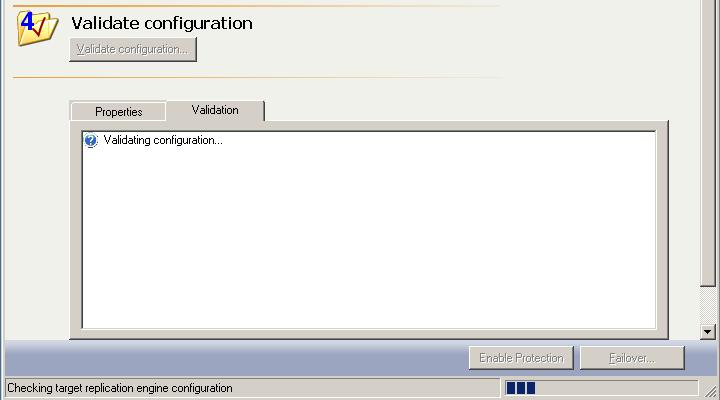
You must validate that your target is compatible with your source and can stand-in if the source fails. Click Validate configuration. The Validation tab at the bottom of the Full-Server Failover Manager updates to display the validation check. Errors are designated by a white X inside a red circle. Warnings are designated by a black exclamation point (!) inside a yellow triangle. A successful validation is designated by a white checkmark inside a green circle.
- Double-click on any of the validation items to see details. You must correct any errors before you can enable protection. Depending on the error, you may be able to click Fix or Fix All and let Double-Take Availability correct the problem for you. For those errors that Double-Take Availability cannot correct automatically, you will need to modify the target to correct the error, or you can select a different target. You must revalidate the selected servers until the validation check passes without errors.
- Once the validation check passes without errors, click Enable Protection to begin monitoring.
Note: After protection is enabled, a View Configuration link will display the optional protection settings in read-only mode. If you need to modify any of the optional protection settings, you will have to disable your protection, modify the optional protection settings, and then re-enable protection.
If you have a full-server protection connection established, do not create any other Double-Take Availability connections from or to the source or target.
 Related Topics