You are here: Workload protection > Data protection > Creating a replication set

Creating a replication set

Before you can establish a connection, you must create a replication set.

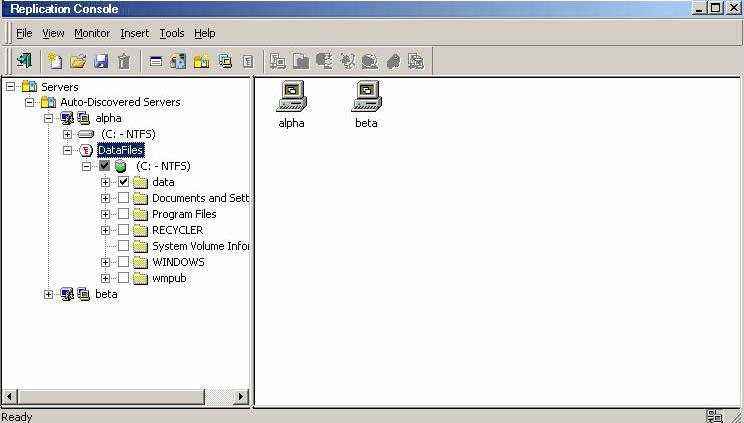
  1. From the Replication Console, highlight a source in the left pane of the Replication Console and select Insert, Replication Set from the menu bar. You can also right-click on the source name and select New, Replication Set.
  2. A replication set icon appears in the left pane under the source. By default, it is named New Replication Set. Rename the newly inserted replication set with a unique name by typing over the default name and pressing Enter. This process is similar to naming a new folder in Windows Explorer.
  3. Expand the tree under the replication set name to view the volume and directory tree for the source.
  4. Note:

    The default number of files that are listed in the right pane of the Replication Console is 2500, but this is user configurable. A larger number of file listings allows you to see more files in the Replication Console, but results in a slower display rate. A smaller number of file listings displays faster, but may not show all files contained in the directory. To change the number of files displayed, select File, Options and adjust the File Listings slider bar to the desired number.

    To hide offline files, such as those generated by snapshot applications, select File, Options and disable Display Offline Files. Offline files and folders are denoted by the arrow over the lower left corner of the folder or file icon.

  1. Identify the data on the source that you want to protect by selecting volumes, drives, directories, and/or specific files.

Note: Be sure and verify what files can be included by reviewing Replication capabilities.
  1. After selecting the data for this replication set, right-click the new replication set icon and select Save. A saved replication set icon will change from red to black.

Related Topics