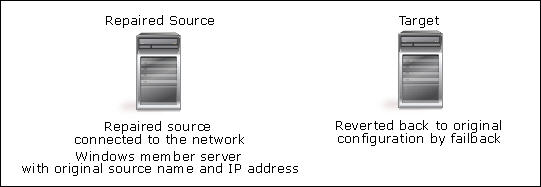
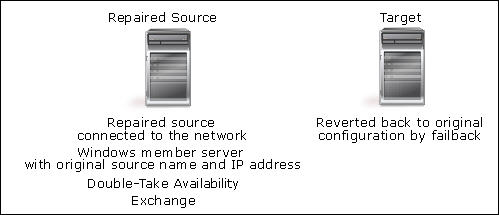
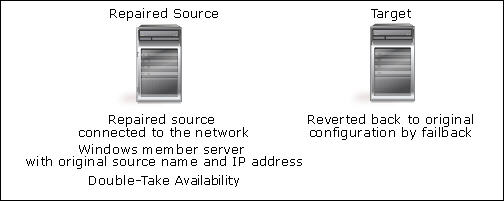
The following steps guide you through rebuilding a source with the same name and IP address as the original source.
- Install Windows on the source, if necessary, configuring it as a Windows 200x member server with the same name and IP address as the original source.

- Apply any Windows 200x service packs or patches.
- Connect the source to the network and join the domain.
- On the source, right-click My Computer and select Properties.
- Select the Network Identification tab and click Properties.
- Under Member of, change to Domain and specify the domain name.
- Click OK.
- When you are prompted for a domain account, specify an account with permissions to add a workstation to the domain.
- Reboot when prompted.
- After the source reboots, log in as the domain administrator or an equivalent account. Verify that the account has full Exchange Administrator rights.
- Using the Exchange CD, start the Exchange installation on the source using the following command
<cd drive>:\setup\i386\setup.exe /DisasterRecovery. - At the Component Selection dialog box, set the Action column to Disaster Recovery for all of the components that were originally installed on the source (before it failed).
- Verify that each of the components selected are installed in the same location on the source as they are on the target. If not, modify the location of each component to match the target and original source configuration.
- After selecting the proper components and location, click Next to continue the install.
- If you accepted the default installation on the original source (before it failed), set Microsoft Exchange Messaging and Collaboration Services and Microsoft Exchange System Management Tools to Disaster Recovery.
|
Note: |
“Use Exchange Admin Snap-in to ensure that you have a valid Exchange Server Object for this server for which you are running setup in recovery mode.” “After setup has completed, restore your databases from backup, then reboot your machine.”
|
- Install any Exchange service packs or patches.

- Install Double-Take Availability, if necessary.

- Copy the following files from the target to the Double-Take Availability directory on the source:
- exchfailover.exe
- post_restore_<source server name>_<target server name>.bat
- Continue the failback and restoration process.
 Rebuilding the original Exchange source