You are here: Workload protection > Application protection > Optional application protection settings > Configuring SharePoint database protection

Configuring SharePoint database protection

  1. Make sure you have a valid domain and servers specified, click Configure from the main Application Manager page, and then select the Connection tab.
  2. Note: The fields on the Connection tab will vary depending on the type of application you are protecting.
  3. By default, the entire SharePoint program and data files (except the \binn directory) will be protected. End-users can access the data from the target in the event of a failure.

Note:

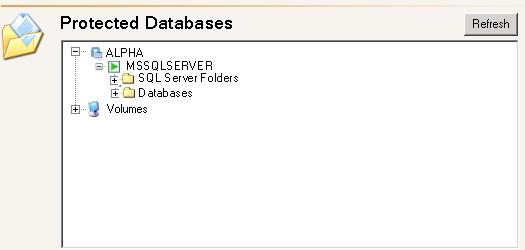
The servers must have the same version of SharePoint (major and minor versions).

The servers must have the same logical drive structure where the SharePoint program and data files are stored.

If you are using a SQL server named instance for a back-end database server in your SharePoint setup, both the source and target SQL servers must have the same named instances and the same logical drive structure.

You may want to exlude the tempdb database to reduce mirroring and replication traffic.

The Protected Databases list will be disabled if you have enabled Override Generated Rules on the Advanced tab.

  1. If desired, you can select additional data to protect under the Volumes folder.
  2. Click Refresh if you need to refresh the items in the tree view.
  3. Next select the SharePoint tab. These options allow you to join or extend the target front-end web server to the production SharePoint configuration or web farm. Application Manager determines the Microsoft SQL server and configuration database used by the source SharePoint web front-end server, then uses that information to connect the specified target web server to the same SharePoint configuration. The target web server specified can be local or remote.
  4. Note:

    The target web server must have the same version of SharePoint installed as the product SharePoint web server.

    For best results, SharePoint should be installed but not yet configured on the target web server.

    In order to extend the target web server, you will need to add the SharePoint administrator account to the local domain administrator group on the target server before you extend target web front-end server into the farm.

  5. The first five fields will be filled in automatically. However, you can modify any of the fields.
  1. After you have entered the parameters, click Connect Server and the specified SharePoint front-end web will be extended into the source SharePoint configuration. This process may take several minutes to complete. During this time, you can perform other tasks within the Configure Protection window, however, you will not be able to close the Configure Protection window until the task is complete.
  2. Note: You must manually install the Central Administration web application after the target has been extended in order to be able to administer SharePoint in the event of a failover.
  3. Click OK to save the settings.

Related Topics