In the SMPortal, you will see the different types of migration requests.
The following example is for a single server request for a VMware virtual machine. This workflow addresses all available options. If you are using one of the other workflows, you may not be presented with each of these options.
- Login to the SMPortal on your SharePoint server.
-
Click List View and the Double-Take Request offerings will be displayed.
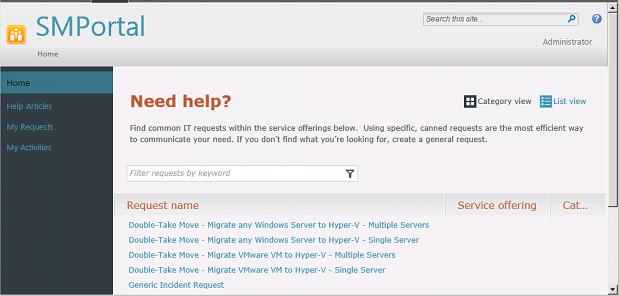
- Click Double-Take Move - Migrate VMware to Hyper-V - Single Server.
- Click Go to request on the right side of the page
-
Although there are many fields on the first screen, only Title is required and used. Depending on your screen resolution, you may see two scroll bars, and you may need to use both to see all of the options and to click the navigation buttons at the bottom of the window. Enter the Title, which will be the name of the Service Request that is created. Since the other fields are not used by Double-Take Move, you can skip them.
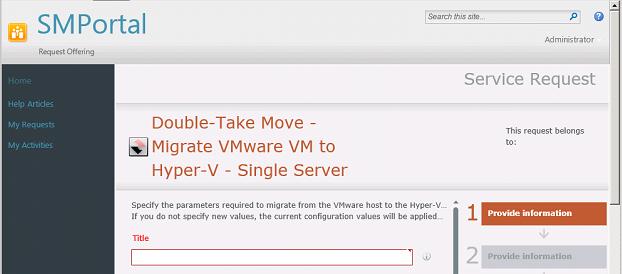
- Click Next to continue.
-
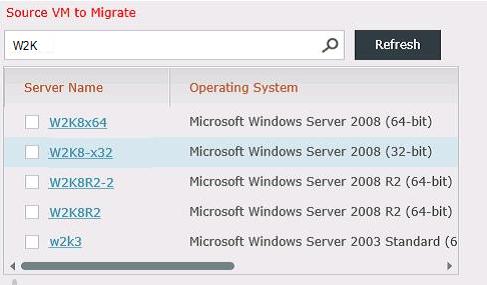
Select the source virtual machine that you want to migrate. All virtual machines are listed even if they are unsupported or powered off. You can search for a server or click Next at the bottom of the screen to browse page by page. For the single server request, you will only be able to select one machine. For the multiple server request, you will be able to select multiple machines.
-
Select the desired values for the replica virtual machine on the target. Not all of the fields are applicable to non-VMware migrations and to multiple server requests. For multiple server requests, the default values will be used.
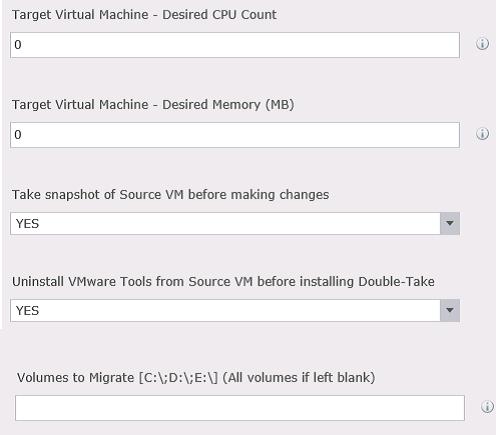
- Target Virtual Machine - Desired CPU Count—This is the number of CPUs to create on the replica virtual machine. The default is zero (0), which indicates the replica virtual machine will be configured identically to the source virtual machine. Modify this value if desired.
- Target Virtual Machine - Desired Memory—This is the amount of memory assigned to the replica virtual machine. The default is zero (0), which indicates the replica virtual machine will be configured identically to the source virtual machine. Modify this value if desired. If left at the default of 0 then it will match the configuration of the source machine.
- Take snapshot of Source VM before making changes—Specify YES to have VMware take a snapshot of the source virtual machine before installing Double-Take Move. The default setting is YES.
- Uninstall VMware Tools from Source VM before installing Double-Take—Specify YES to have VMware Tools removed on the source virtual machine before installing Double-Take Move. The default setting is YES.
- Volumes to Migrate—Specify the volumes you want to migrate, using a comma-separated list of volume letters formatted as letter colon backslash, for example C:\. Leave the field blank if you want all of the volumes on the source to be migrated.
-
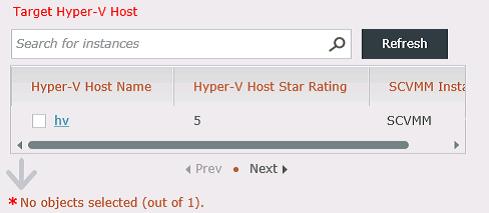
Select the target Hyper-V host from the list of hosts managed by System Center Virtual Machine Manager. Select the Hyper-V host with Double-Take Move installed with the Double-Take Move target activation code.
-
Select the Hyper-V network to attach to the migrated source’s NICs. You must click Refresh after selecting the Hyper-V host to see the virtual network interface names.
-
Specify the destination of the replica virtual machine, target route, and compression.
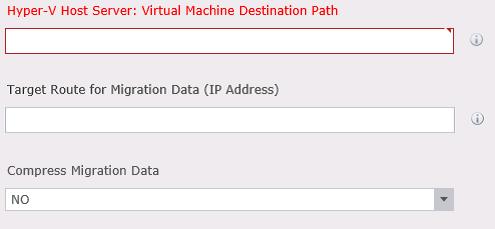
- Hyper-V Host Server: Virtual Machine Destination Path—This is the path where the virtual machines will be created. A sub-folder with the name of the source will be created under this path for each machine migrated. For example, if you specify D:\Migrated VMs\, the source virtual machine called Source1 will be sent to D:\Migrated VMs\Source1\ and the source virtual machine called Source2 will be sent to D:\Migrated VMs\Source2.
- Target Route for Migration Data—If desired, enter an IP address for the Double-Take Move job to send data to on the target. If the field is left blank, Double-Take Move will automatically determine the route.
- Compress Migration Data—Specify if you want to compress the data the Double-Take Move sends to the target. Typically, compression is enabled in a WAN environment where no other WAN accelerators are present. Enabling this option is equivalent to the medium compression level in Double-Take Move. The default setting is NO.
-
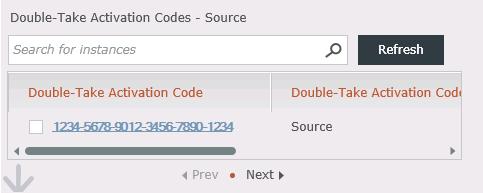
Select the activation code to use on the source. If Double-Take Move is already installed with an activated Double-Take Move source code, this field will not be used, even if it is configured.
- Review the job options and click Submit to continue. A Service Request will be created and follow the activities located within the request.
See your System Center documentation for details on monitoring a service request once it has been submitted.