
|
After you have created a replication set, you can establish a connection through the Connection Manager by connecting the replication set to a target.
The Connection Manager opens to the Servers tab. Depending on how you opened the Connection Manager, some entries on the Servers tab will be completed already. For example, if you accessed the Connection Manager by right-clicking on a replication set, the name of the replication set will be displayed in the Connection Manager. Verify or complete the fields on the Servers tab.

Start Mirror on Connection—Mirroring can be initiated immediately when the connection is established. If mirroring is not configured to start automatically, you must start it manually after the connection is established.
Data integrity cannot be guaranteed without a mirror being performed. This option is recommended for the initial connection.
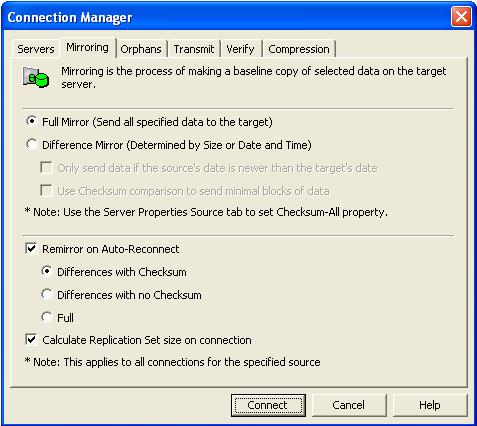
If desired, you can configure mirror settings before establishing your connection. Select the Mirroring tab on the Connection Manager.

Only send data if the source’s date is newer than the target’s date—Only those files that are newer on the source are sent to the target.
If you are using a database application, do not use the newer option unless you know for certain you need it. With database applications, it is critical that all files, not just some of them that might be newer, get mirrored.
Use checksum comparison to send minimal blocks of data—For those files flagged as different, the mirror performs a checksum comparison and only sends those blocks that are different.
Stopping, starting, pausing, or resuming mirroring contains a comparison of how the file difference mirror settings work together, as well as how they work with the global checksum setting on the Source tab of the Server Properties.
Full—All files are sent to the target.
Database applications may update files without changing the date, time, or file size. Therefore, if you are using database applications, you should use the File Differences with checksum or Full option.