Open topic with navigation
Defining the Integration Pack Connections and Configurations
Use the Orchestrator Runbook Designer to define the connections and configurations for your installed integration packs.
- Define the Service Manager connection.
- From the Options menu, select SC 2012 Service Manager.
- Click Add to add a new connection.
- For the connection Name, specify SCSM. The name must be an exact match.
Specify Server and Credentials appropriate for your environment.
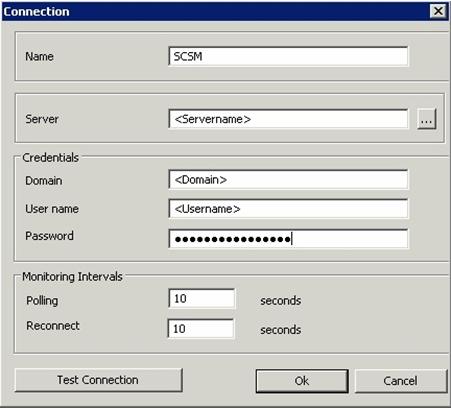
- Click Test Connection to verify the input.
- Click OK to close the connection wizard.
- Click Finish to close the connection settings.
- Define the Operations Manager connection.
From the Options menu, select SC 2012 Operations Manager.
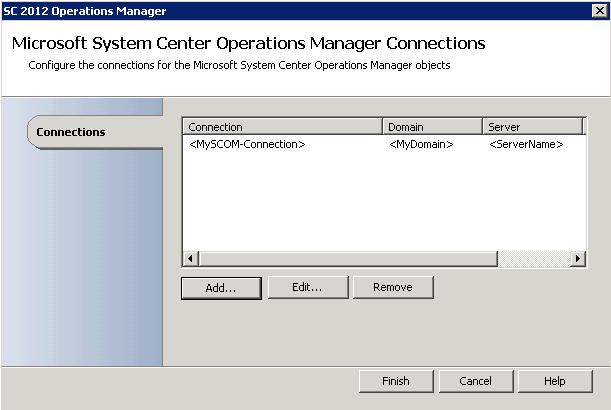
- Click Add to open the connection wizard.
Specify the Name, Server, and Credentials for the Operations Manager server.
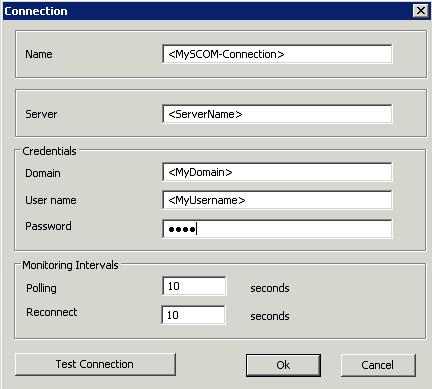
- Click Test Connection to verify the input.
- Click OK to close the connection wizard.
- Note the name of the connection because it will be used when you configure the Orchestrator variables.
- Click Finish to close the connection settings.
- Define the Virtual Machine Manager configuration.
- From the Options menu, select SC 2012 Virtual Machine Manager.
Click Add to add a new Virtual Machine Manager configuration.
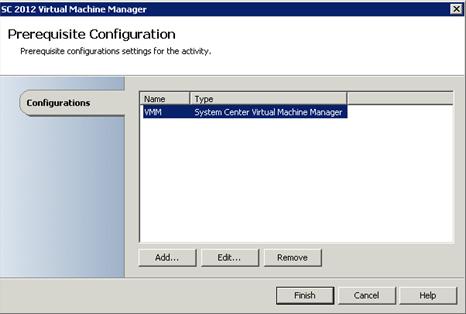
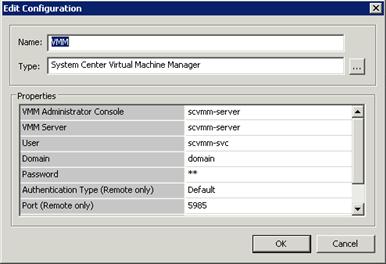
- For the configuration Name, specify VMM. The name must be an exact match.
- For the configuration Type, select System Center Virtual Machine Manager.
Modify the Properties list to values appropriate for your environment.
- Click OK to close the connection wizard.
- Click Finish to close the configuration settings.
- Define the VMware vSphere configuration.
- From the Options menu, select VMware vSphere.
Click Add to add a new vSphere configuration.
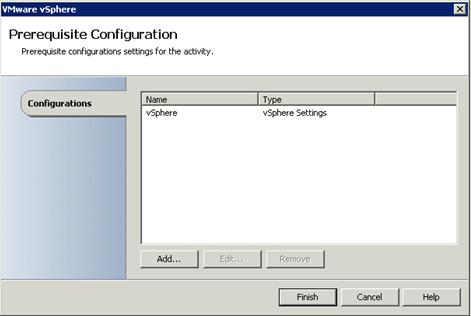
- For the configuration Name, specify vSphere. The name must be an exact match.
- For the configuration Type, select vSphere Settings.
Modify the Properties list to values appropriate for your environment.

- Click OK to close the connection wizard.
- Click Finish to close the configuration settings.
- Define the Double-Take Move configuration.
- From the Options menu, select Vision Solutions Double-Take Move.
Click Add to add a new Move configuration.
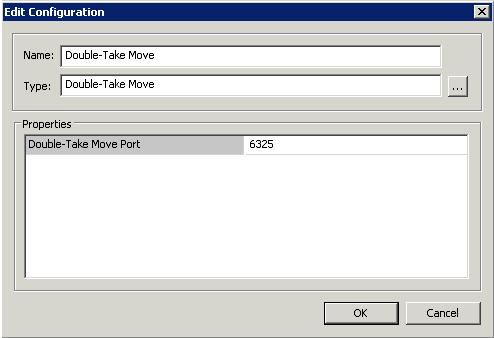
- For the configuration Name, specify Double-Take Move. The name must be an exact match.
- For the configuration Type, select Double-Take Move.
Confirm the port is 6325.
- Click OK to close the connection wizard.
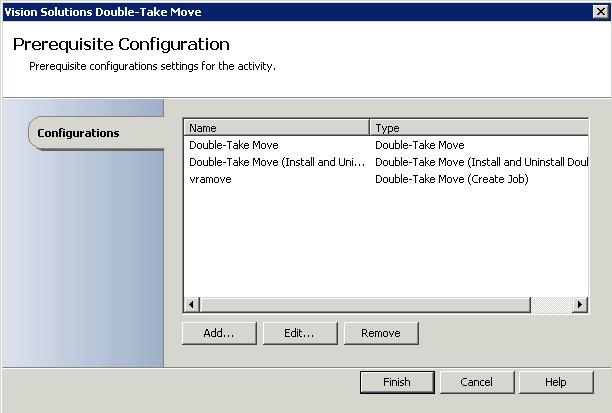
- Do not click Finish yet. Instead, click Add to add a new Move installation configuration.
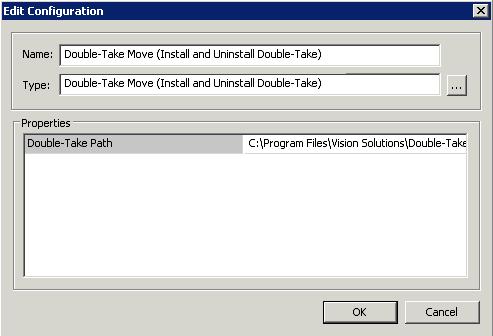
- For the configuration Name, specify Double-Take Move (Install and Uninstall Double-Take). The name must be an exact match.
- For the configuration Type, select Double-Take Move (Install and Uninstall Double-Take).
Confirm the installation path is appropriate for your environment. By default, the installation is C:\Program Files\Vision Solutions\Double-Take.
- Click OK to close the connection wizard.
- Do not click Finish yet. Instead, click Add to add a new Move job configuration.
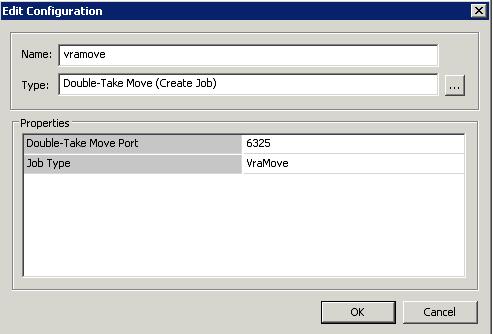
- For the configuration Name, specify vramove. The name must be an exact match.
- For the configuration Type, specify Double-Take Move (Create Job).
Confirm the port is 6325 and the job type is VraMove.
- Click OK to close the connection wizard.
- Click Finish to close the configuration settings.
- Define the Active Directory configuration.
- From the Options menu, select Active Directory.
Click Add to add a new Active Directory configuration.
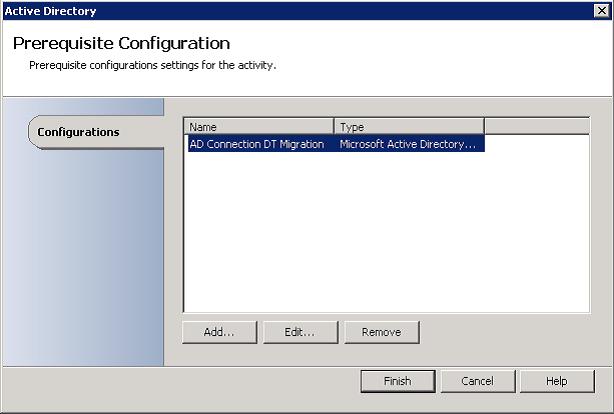
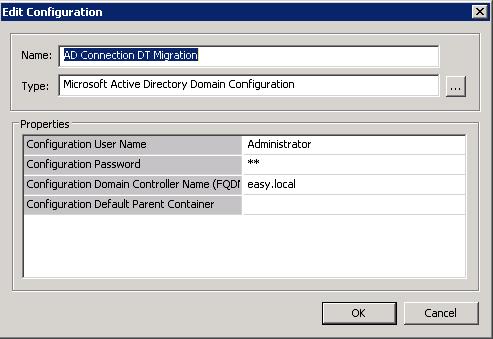
- For the configuration Name, specify AD Connection DT Migration. The name must be an exact match.
- For the configuration Type, select Microsoft Active Directory Domain Configuration.
Modify the Properties list to values appropriate for your environment.
- Click OK to close the connection wizard.
- Click Finish to close the configuration settings.